Key takeaways
- Backsplash goes in after countertops are installed and before the final plumbing and electrical trim.
- Most backsplashes cost $600–$1,800 installed in MA, CT and RI; tile choice and wall condition drive the range.
- Simple subway tile pairs with shaker doors; large-format or slab backsplashes suit slab fronts such as VOXTORP.
- Old plaster walls need to be flat before tiling; a skim coat or backer board is often part of the job.
Cost
$600–$1,800 installed, tile separate
Time
1–2 days
Difficulty
Moderate
Tools
Tile saw, notched trowel, spacers, grout float
On this page
A backsplash does double duty — it protects your walls from splashes, grease, and steam, and it's one of the most impactful design elements in your kitchen. The right backsplash can make an IKEA kitchen look like it belongs in a design magazine.
Here's our guide to the best backsplash options for IKEA kitchens, with honest cost breakdowns and style recommendations based on our experience installing kitchens across Massachusetts, Connecticut, and Rhode Island.
Backsplash Materials Compared
Subway Tile
The most popular backsplash option — and for good reason.
What it is: Rectangular ceramic or porcelain tiles, traditionally 3" x 6" but now available in many sizes (2x4, 2x8, 4x8, 4x12, etc.)
Cost: One of the most affordable tile options. Material and installation costs vary by tile quality, layout pattern, and kitchen size.
Large Format Tile
Tiles larger than 12" x 12" — including popular 12x24, 24x24, and 24x48 formats.
Cost: Moderately priced. Fewer grout lines mean less labor but requires more skill to install level.
Mosaic Tile
Small tiles (2" or less) arranged in patterns. Includes glass, stone, metal, and ceramic varieties.
Cost: Varies widely depending on the material — glass and stone mosaics cost more than ceramic.
Natural Stone (Marble, Travertine, Slate)
Cost: A premium option. Natural stone is among the more expensive backsplash materials, plus it requires sealing.
Porcelain Slab
Cost: A high-end option that creates a seamless, modern look with minimal grout lines.
Peel-and-Stick Tile
Cost: The most budget-friendly backsplash option available. At Hearthstone Kitchens, we recommend peel-and-stick for rental properties where cost control is essential.
Metal Tile and Panels
Stainless steel, copper, or aluminum tiles or sheets.
Cost: Mid-range to premium depending on the metal type and format.
DIY vs. Professional Backsplash Installation
Good DIY Options
- Peel-and-stick: Designed for DIY, minimal skill needed
Better Left to Professionals
- Glass tile: Cracks easily if not handled correctly, and mistakes are expensive
- Large format tile: Requires a large wet saw and experience with leveling systems
- Mosaic patterns: Alignment precision matters enormously
How to Prep Walls for Backsplash
After removing old cabinets and before installing the backsplash:
- Remove old backsplash: Pry off old tile, scrape off adhesive residue
- Repair the wall: Patch holes, skim coat rough areas with joint compound
- Sand smooth: Especially important for peel-and-stick and large format tiles
- Prime the wall: Use a bonding primer if the wall has been skim-coated — this helps tile adhesive bond properly
- Ensure the wall is dry: Moisture behind tiles causes adhesion failure and mold
In older New England homes with plaster walls, you may need to apply a skim coat or even install cement backer board over deteriorated plaster before tiling. This adds to the project cost and timeline but is essential for a long-lasting result.
Design Tips
Full Wall vs. Standard Height
- Standard backsplash: Covers the 18-inch area between countertop and wall cabinets. Most common and most affordable.
- Full wall: Tile extends from countertop to ceiling, including above the stove and any open wall areas. More dramatic and modern. Costs roughly 50-100% more in materials.
- Focal area: Just behind the range, extend tile to the ceiling or add a decorative accent. The rest stays standard height.
Grout Color Matters
- Matching grout (white tile, white grout): Clean, seamless look
- Contrasting grout (white tile, dark grout): Emphasizes the tile pattern — graphic and bold
- Gray grout: The practical middle ground — hides stains better than white but doesn't contrast as sharply as black
Consider the Full Picture
Your backsplash, countertop, and cabinet doors form a trio. Pick all three together:
- Choose your IKEA door style first (this is the largest surface area)
- Choose your countertop (this is the next-largest surface and the most expensive to change)
- Choose your backsplash to complement both
Bring a cabinet door sample and a countertop sample to the tile showroom. Look at them together under different lighting.
Our Favorite Combinations
Based on projects we've completed across New England:
- AXSTAD white + white quartz + white subway in herringbone: Classic, clean, timeless
- BODBYN off-white + KARLBY walnut butcher block + white subway with gray grout: Warm farmhouse charm
- VOXTORP dark gray + white quartz + large format marble-look porcelain: Modern sophistication
- LERHYTTAN black stained + Carrara marble countertop + white hexagonal mosaic: Rich and textured
- BODBYN dark green + brass hardware + Zellige tile in white: Magazine-worthy traditional
Materials and Installed Cost
Most backsplashes in a typical kitchen run $600 to $1,800 installed in Massachusetts, Connecticut and Rhode Island in 2026, with the tile itself priced separately. Here is how the choices compare for roughly 30 square feet of wall.
| Material | Tile cost per sq ft (typical) | Installation difficulty | Look | Notes |
|---|---|---|---|---|
| Ceramic subway tile | Low | Easy to moderate | Classic, timeless | Best pairing for shaker doors |
| Handmade-look ceramic | Low to mid | Moderate | Warm, varied | Irregular edges need wider grout lines |
| Porcelain, large format | Mid | Moderate to hard | Modern, seamless | Fewer grout lines; heavy pieces |
| Glass tile or mosaics | Mid to high | Hard | Reflective, detailed | Shows wall imperfections; slow to set |
| Natural stone | Mid to high | Moderate | Organic, textured | Must be sealed; varies by lot |
| Quartz or stone slab | High | Fabricator installs | Seamless | Matches the countertop; templated with it |
| Painted or panel splashback | Low | Easy | Clean, minimal | Good for rentals and fast timelines |
Wall condition moves the labor number more than the tile does. A flat drywall kitchen is at the low end; a plaster wall that needs a skim coat or backer board before tiling is at the high end.
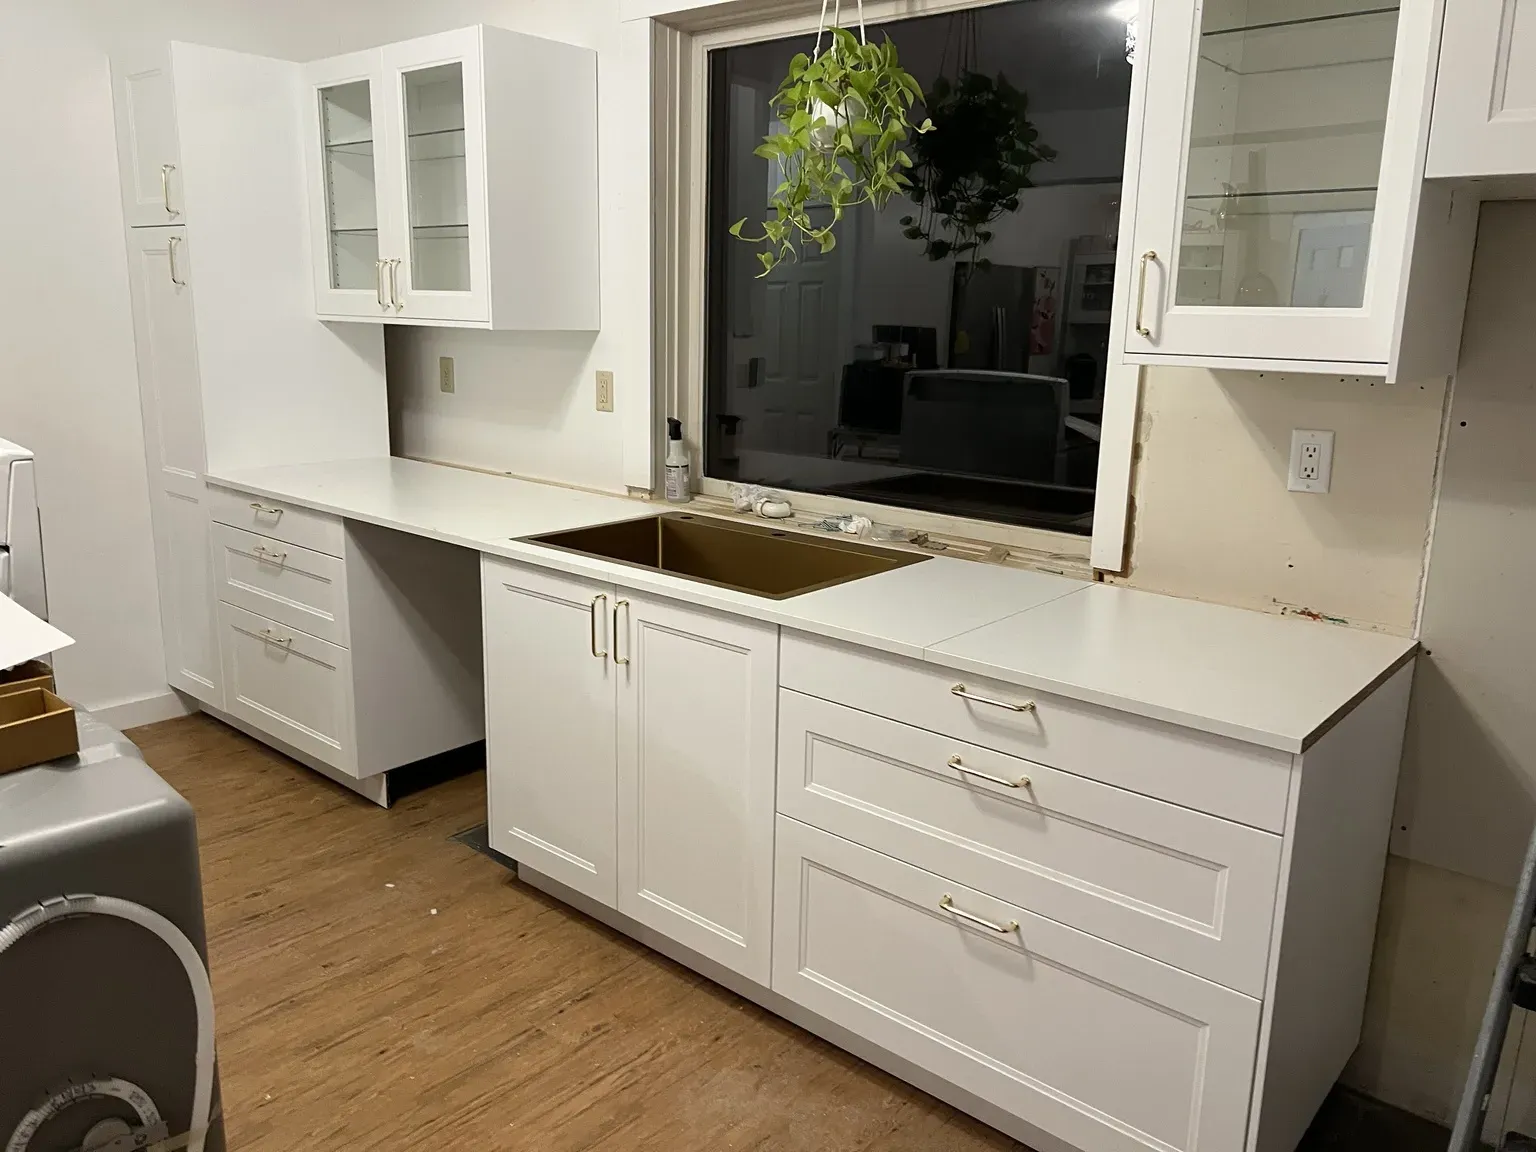
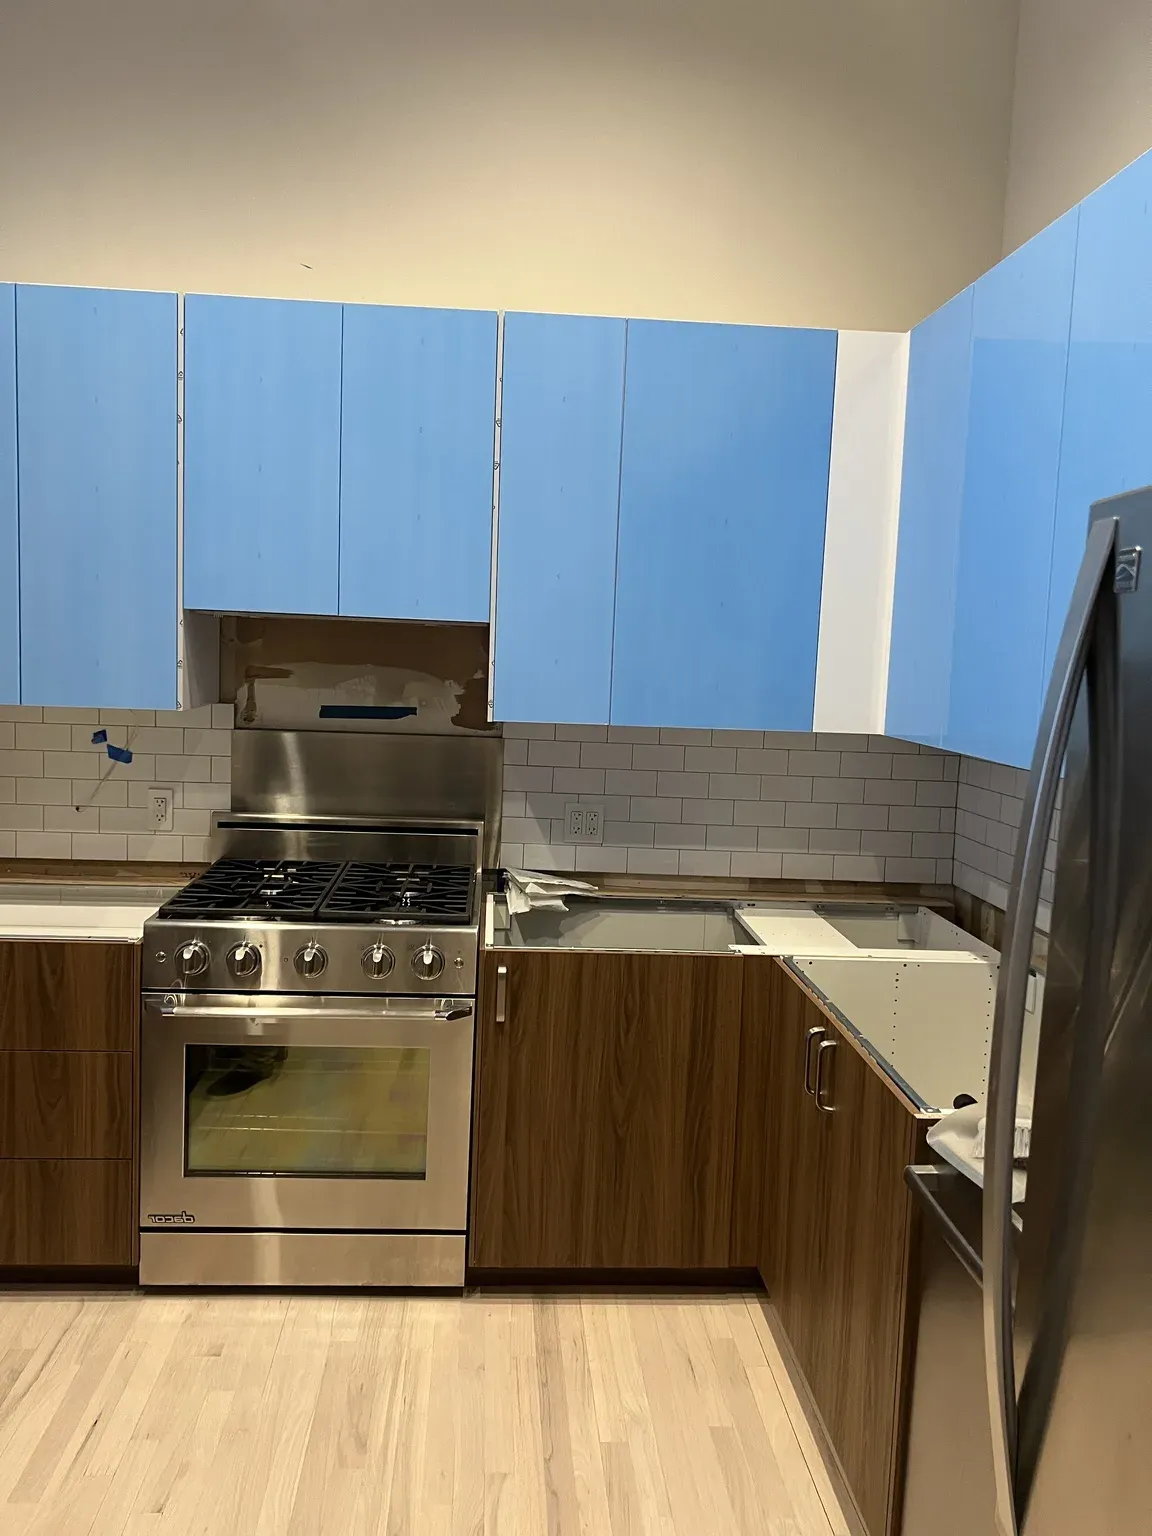
Sequencing: Countertops First
The backsplash goes in after the countertop is installed and sealed to the wall, and before the electrician fits the final outlet covers. Tiling first risks a gap or a cracked tile when the slab arrives. If you are adding under-cabinet lighting, run the wiring and set the boxes before tile, not after.
Outlets, Switches and Window Trim
Outlets and switches in the backsplash zone need extended boxes or spacers so the covers sit flush on the new tile surface. Decide early whether the tile runs to the window casing or stops at a trim piece, and whether it goes behind the range to the hood or stops at the countertop line on the sides. On old houses where window trim is not plumb, a Schluter-style metal edge or a pencil tile gives the tile a straight edge to end against instead of following a crooked casing. Read the electrical requirements guide for the outlet spacing rules that apply here.
Matching Tile to IKEA Door Styles
Some pairings just work:
- AXSTAD, BODBYN, LERHYTTAN shaker fronts: 3x6 or 4x12 subway in white or a soft grey-green, running bond, with a slightly contrasting grout.
- VOXTORP and HAVSTORP slab fronts: large-format porcelain or a quartz slab splash with as few lines as possible.
- Wood-effect fronts: white handmade-look tile or a pale stone; avoid warm beige tile that fights the wood tone.
- Dark green and navy doors: white or cream tile with a dark grout, or brass-toned mosaics used sparingly.
Our door styles guide and color guide go deeper on the fronts themselves, and our splashback installation service handles tile, panel and slab backsplashes as part of a full project.
Ready to Choose Your Backsplash?
A backsplash is a relatively small investment that makes a huge visual impact. If you're installing an IKEA kitchen in Massachusetts, Connecticut, or Rhode Island, Hearthstone Kitchens can help you select the perfect backsplash and coordinate with trusted tile installers. Contact us to discuss your kitchen design.
Frequently asked questions
About the authors
This guide was written and reviewed by the Hearthstone Kitchens installation team, who have installed 600+ IKEA kitchens in Massachusetts, Connecticut and Rhode Island over 7+ years. Prices reflect what we see on real quotes in 2026 and are updated when the market moves. We are an independent installer and are not affiliated with IKEA.
Ready to talk about splashback installation?
Upload your IKEA plan or a few photos. We will check it for missing pieces and send an itemized estimate within 3 hours, free and with no obligation.